First let's start with my BBQ sauce recipe... hands down this was the best BBQ chicken I have ever had! At the local co-op that Nate and I work at, there was a huge sale on a particular brand of chicken because they had accidentally ordered too much. Now I've always been a run of the mill, boneless skinless chicken breast kinda girl... but the tenderloins that were on sale just looked so small so I branched out and bought party wings and drumsticks as well. So now we have all this chicken... what do we do with it??? Well it's summer time so we broke out the grill and I went on the hunt to find a healthy unprocessed BBQ sauce... it sounds a little strange, and I modified it a bit from the original recipe I found (partly on accident because I didn't buy all the ingredients and partly just for preference) so feel free to play with it a little bit. I hope you enjoy it as much as Nate and I did!!

Ingredients:
4 strips of nitrate and nitrite free bacon
1/2 onion diced
9 oz container of unprocessed yellow mustard (I used Annie's organic yellow mustard) - the original recipe called for 2 (9oz) containers which personally I think would make this way too mustardy
Approx 3/4 cup honey - I went by taste with this and added slowly
1 tablespoon garlic powder
3/4 cup apple cider vinegar - Again I went by taste with this
Salt and pepper to taste
-Saute the diced onion and chopped up bacon until onions are soft and bacon is cooked.
-Add the rest of the ingredients and let simmer for at least 10 minutes.
For the recipe in the picture we grilled drum sticks - we seasoned them with a dry rub we had purchased down in Charleston and put them on the grill until they reached an internal temp of 160 degrees and then slathered them with the BBQ sauce and let them go for a couple more minutes. Ideal internal chicken temp is 165 degrees. We paired it with some local green beans and Ginger Cider from NY's first cidery Nine Pin... YUM YUM YUM!! I hope you enjoy this as much as we did!
Next... Tortilla Wraps! First let me say, don't get discouraged if they don't come out looking super pretty the first time you make them... mine definitely did not but they tasted great, were fairly simple and I think with a little practice you'll be able to have them looking like perfect little round tortillas in no time!! I found this recipe at one of my favorite sites...100 days of real food. I've mentioned it before and also have a link at the top of my page.
I had been craving bread and wraps and all things that are most likely going to be processed at the grocery store... but I was determined to continue this unprocessed lifestyle and find a substitution...so I was really happy when I stumbled across this recipe. I hope you enjoy this one as well!

Ingredients:
2 and 1/2 cups whole wheat flour
1/2 cup oil (I used coconut oil that I liquified )
1 teaspoon salt
1 cup warm water (microwaved for one minute)
You'll need some type of equipment with dough hooks whether it be a mixer, or in my case I used my food processor, which worked fine.
-In the food processor (or whatever you choose to use) using dough hooks, pour in flour, oil and salt - beat for 3-5 minutes or until it's crumbly.
-With the mixer running, gradually add the water until the dough is smooth - about 3-5 minutes.

-Flatten the balls out, cover them with plastic wrap and let them rest/rise for at least 15 minutes, up to an hour.
-Heat a skillet or cast iron pan, you want it to be pretty hot to cook them, about medium to high heat.
-Being careful not to use too much flour (it'll burn on the tortilla), roll them out into 8-10" circles (I had some real trouble getting them this big... they were just so thin!!) on a floured board.
-Grease the pan with a touch of oil (I used olive oil) and then cook each tortilla until they're slightly brown on each side - about 30 to 45 seconds per side. Set aside and let cool - either enjoy immediately, refrigerate or freeze for later!!

Thanks again 100 days of real food for the recipe!!
Last but not least... it's time for some delicious dessert recipes!!! I have to thank my mom for stumbling across this site - My New Roots. I really love this woman's attitude, perspective and RECIPES! You should definitely check out her website, my mom made an absolutely delicious unprocessed raw cheesecake and I've been wanting to try out her bread and cracker recipes!! I'm about to give you her raw brownie recipe and nut butter and jelly sandwich cookie recipe! Yum Yum!!
It was Nate's birthday and I debated for a bit... do I go unprocessed or processed??? I decided unprocessed... if this is the lifestyle I want to live, I told myself I needed to branch out and find recipes for all occasions in life. And boy am I glad that I did!!! Not only did Nate love his birthday desserts... but so did his family... who don't eat unprocessed!! Anything I can do to convert more people to eat unprocessed the better!
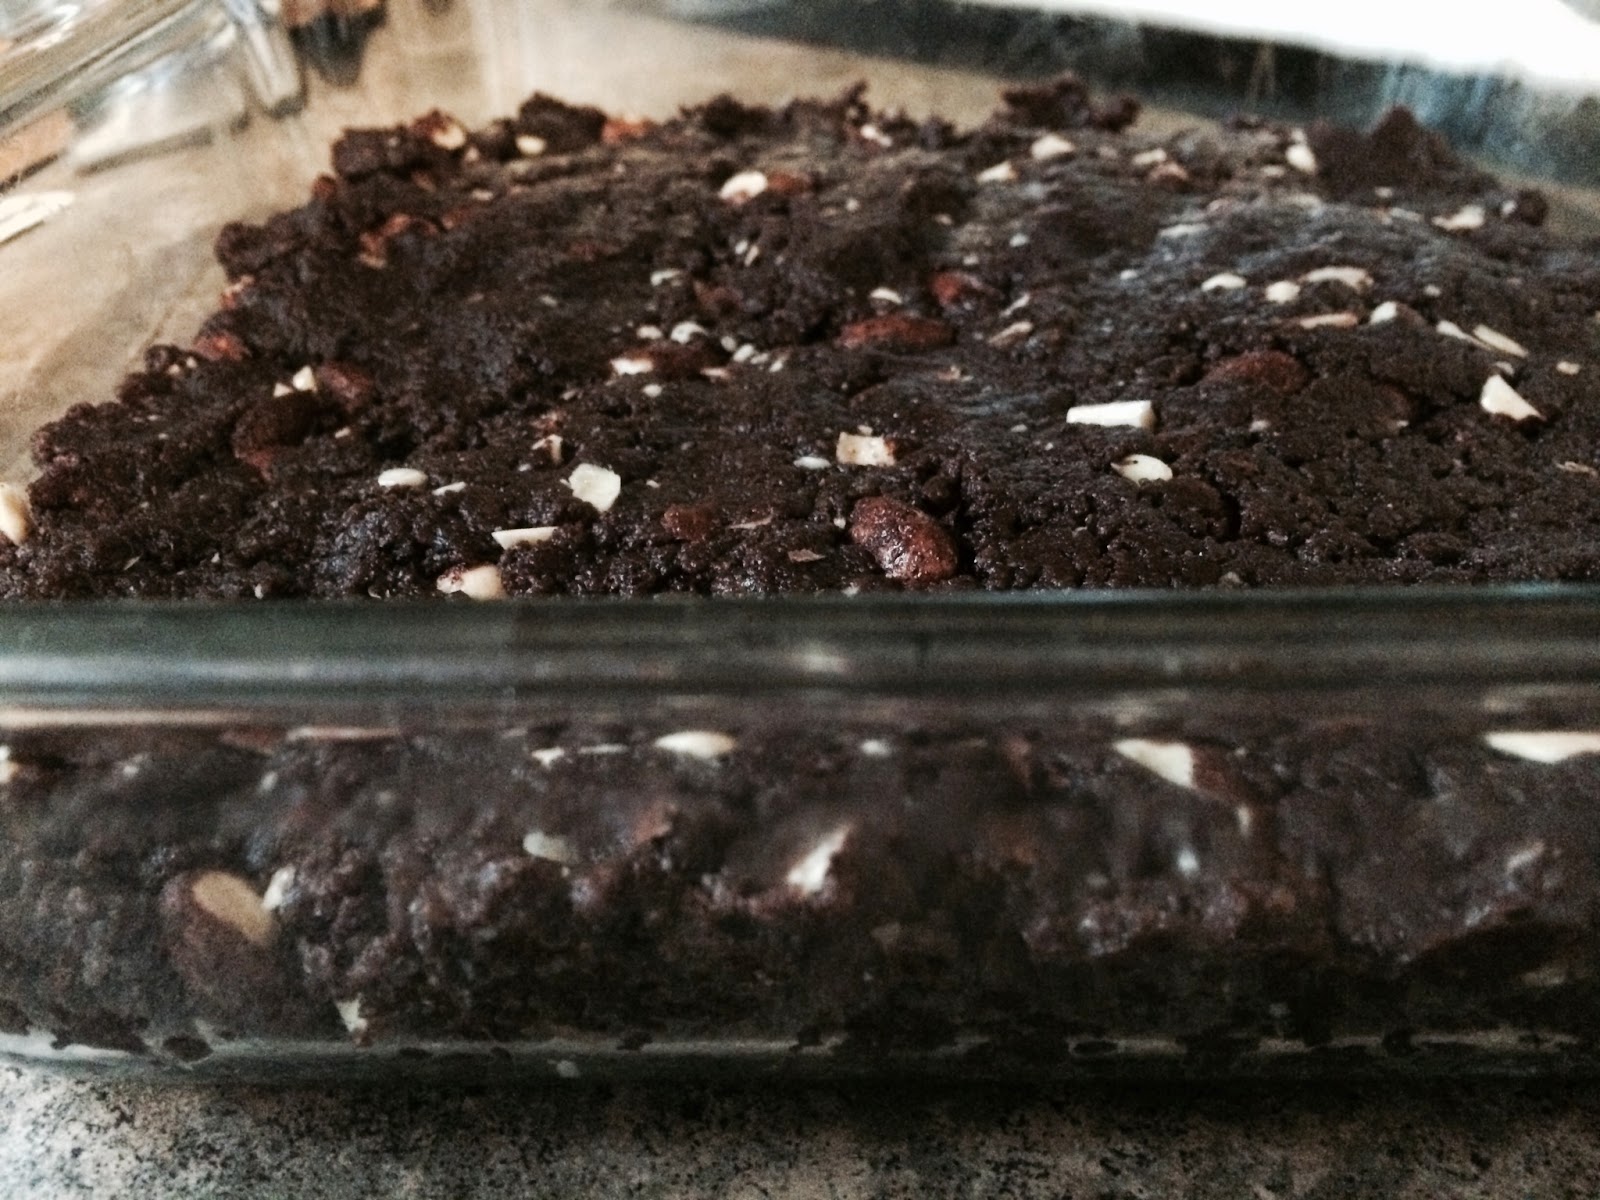
First... raw brownies!
2 cups walnuts
2 and 1/2 cups Medjool dates - pitted
1 cup raw cacao
1 cup almonds
1/4 teaspoon salt.
Again, you'll need a food processor for this one.
-Put the walnuts in the food processor and blend until they're finely ground.
-Add cacao and salt
-Add the dates one at a time.
-In a large bowl mix the walnut mixture and almonds together (I chopped the almonds up first.)
-Press into a lined cake mold (I just used a glass baking dish and didn't put anything down) and put in the fridge!
And you're done! The brownies will be easier to cut once they get cold.
Now...nut butter and jelly sandwich cookies....

Ingredients:
4 tablespoons coconut oil (or butter)
4 tablespoons nut butter
1/2 cup coconut sugar (I wasn't completely sure how I felt about using this - next time I might try to make them with honey, or do a bit more research on coconut sugar.)
2 tablespoons chia seeds
4 tablespoons water + 2 tablespoons pure maple syrup
1 teaspoon vanilla extract
1 and 1/2 cup oat flour (she made her own blending rolled oats - but my local co-op carries it so I just used that.)
1 teaspoon baking soda
1/4 teaspoon sea salt
This recipe will make 20 sandwich cookies (or 40 individual cookies)
-Combine water and maple syrup in a small bowl and then add the chia seeds in and stir well. Set aside for at least 15 minutes until it forms a gel.
-Preheat oven to 350 degrees.
-Combine oat flour, salt and baking soda in a bowl.
-In a separate bowl combine coconut oil and nut butter until creamy. Then add coconut sugar, vanilla and the chia gel. Then add the dry mixture in thirds until the dough is very stiff - I ended up having to use more flour than what was called for to get the right consistency.
-Grease the baking pan.
-Form approximately 40 balls and than flatten them on the cookie sheet.
-Bake for 8-10 minutes or until the bottom is light brown.
Now you can stop here and just have nut butter cookies... or to make the sandwiches -
-Wait until the cookies have cooled, and then take your favorite jam/preserves/jelly (I used our homemade strawberry peach jam that we made earlier this summer) and place about a tablespoon in the middle of one cookie and top off the sandwich with another.
I will say, if you aren't going to eat the sandwiches right away hold off on adding the jam because the cookies get damp/soggy rather quickly once you put the jam on them.
Thanks again My New Roots for the delicious recipes!!
Well I hope everyone enjoys these as much as I did!! I'll continue my hunt for delicious unprocessed recipes and let you know what I find!
No comments:
Post a Comment